The progress of smartphones in recent years has been tremendous—especially the camera function of smartphones. The photo performance of cell phone cameras is more than enough for non-camera professionals. Because cell phone photography is becoming more and more intelligent, people can automatically adjust the parameters of the shot according to the scenery, objects, or people they are taking. In the iPhone album, select a photo, click the upper right corner to edit, and freely adjust the data parameters.
Next, I will teach you the iPhone camera’s functions and three iPhone camera colouring filter parameters.
iPhone’s camera features
Time-lapse: It automatically accelerates the video you shoot. When you shoot it, maybe it took a long time. When you play, the video is missing only a few seconds. When shooting, the red button is displayed at the bottom of the screen; every two rotations represent a video screen playback time of 1 second.
Slo-Mo: It is specifically used to shoot motion video footage. The speed of the picture taken is slower than the conventional. It is suitable for shooting scenes of people walking, fast movement, rain, and snow. This feature makes the scene more detailed.
Video: Normal recording constant speed video. No slow speed nor fast.
Photo: Normal photo taking. The top of the screen allows you to choose your favourite filter or photo size while taking a picture.
Portrait: This mimics the effect of a DSLR camera shot by defocusing the background and thus highlighting the foreground. In other words, portrait mode keeps the face of the person being photographed clear, while the environment generates a beautiful bokeh effect, thus highlighting the subject more. When shooting people with a cluttered background, we can use portrait mode to bokeh the environment so that the viewer’s attention falls on the people.
Pano: Take a large angle photo based on the yellow horizontal line in the middle of the screen. Simply put, you can use this mode to take pictures beyond 180 degrees.
Three types of colour mixing filters
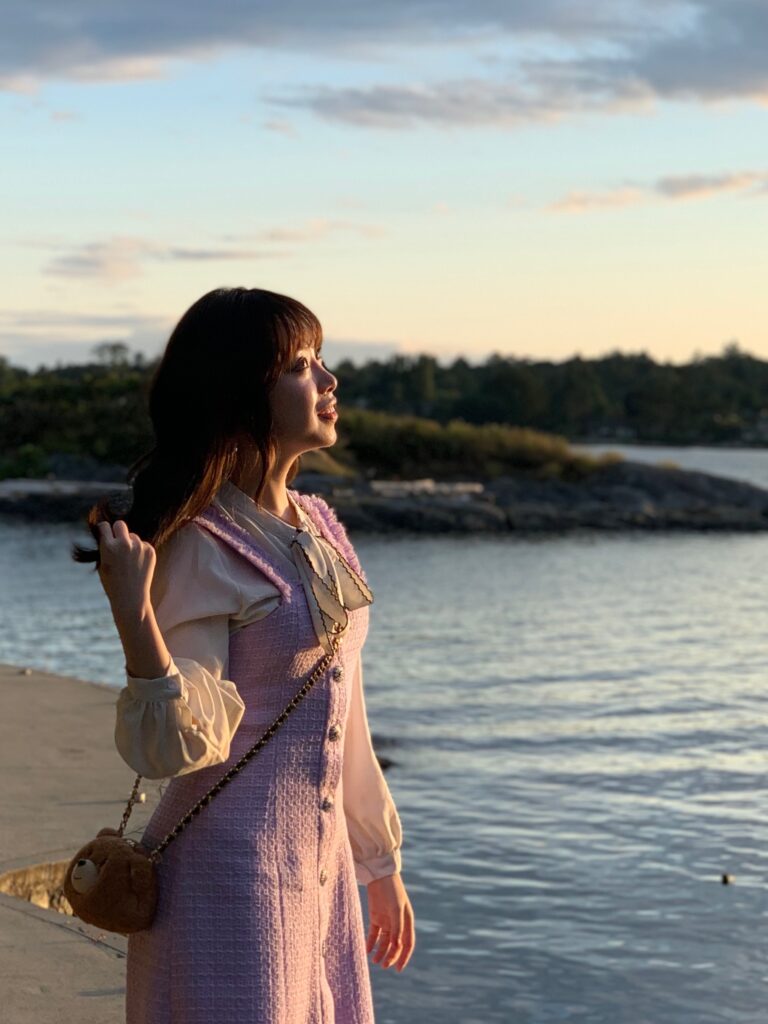
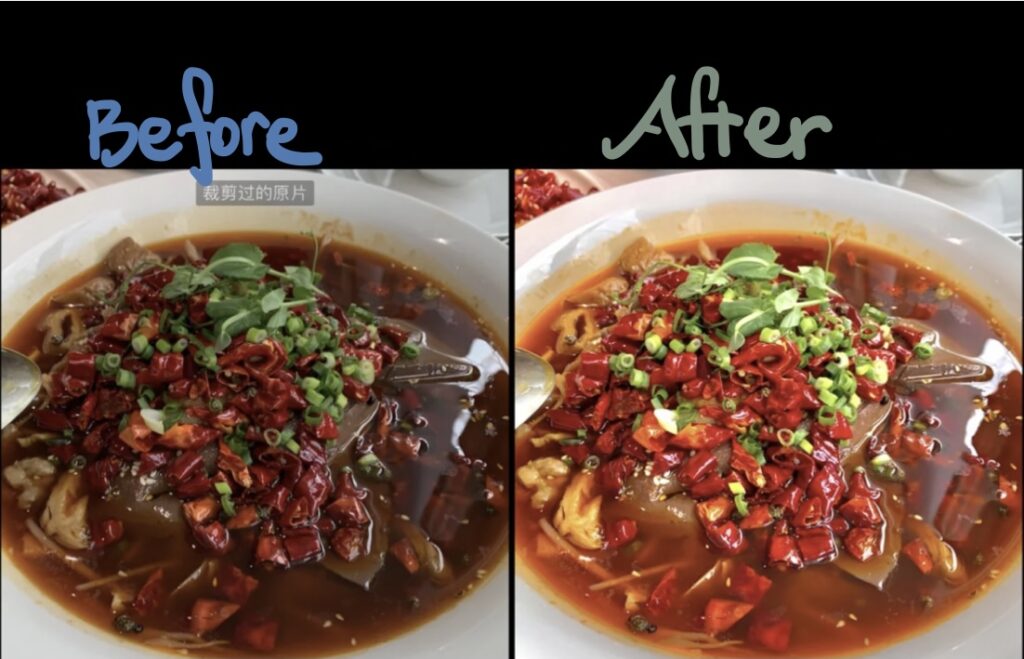
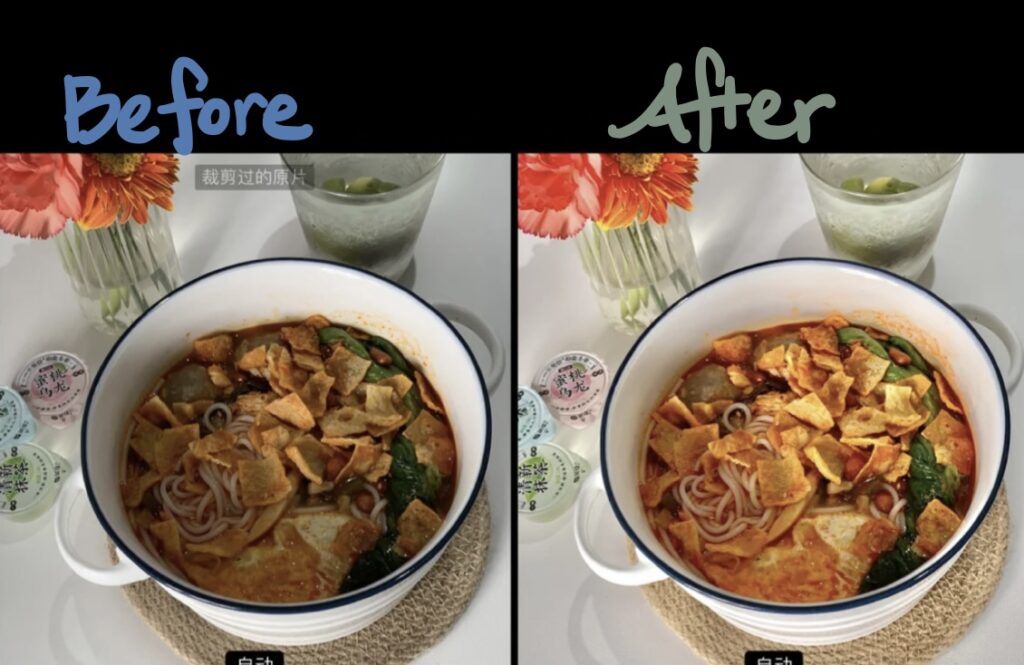
Type 1: The almighty food filter (makes your photos look appetizing)
The disadvantage of the original: food shot out of grey colour, single colour.
Retouching ideas: to make the food look appetizing.
Suitable for the scene: this filter is a versatile colour palette; food photos can be used in this filter. For example, sushi, Chinese food, Korean food, fried chicken, hot pot, steak, etc.
Colour mixing parameters:
Exposure +15 (brighten the photo)
Brilliance +60 (increase the transparency of the photo)
Highlights -40 (to increase the colour, if you like the photo to have a luminous feeling, you can reduce more)
Shadows +20 (brightens dark areas)
Brightness +10 (brightens the photo as a whole)
Vibrance -10 (to make the colours not too intense)
Tint +15 (to make the photo warm)
Sharpness +70 (increases sharpness)
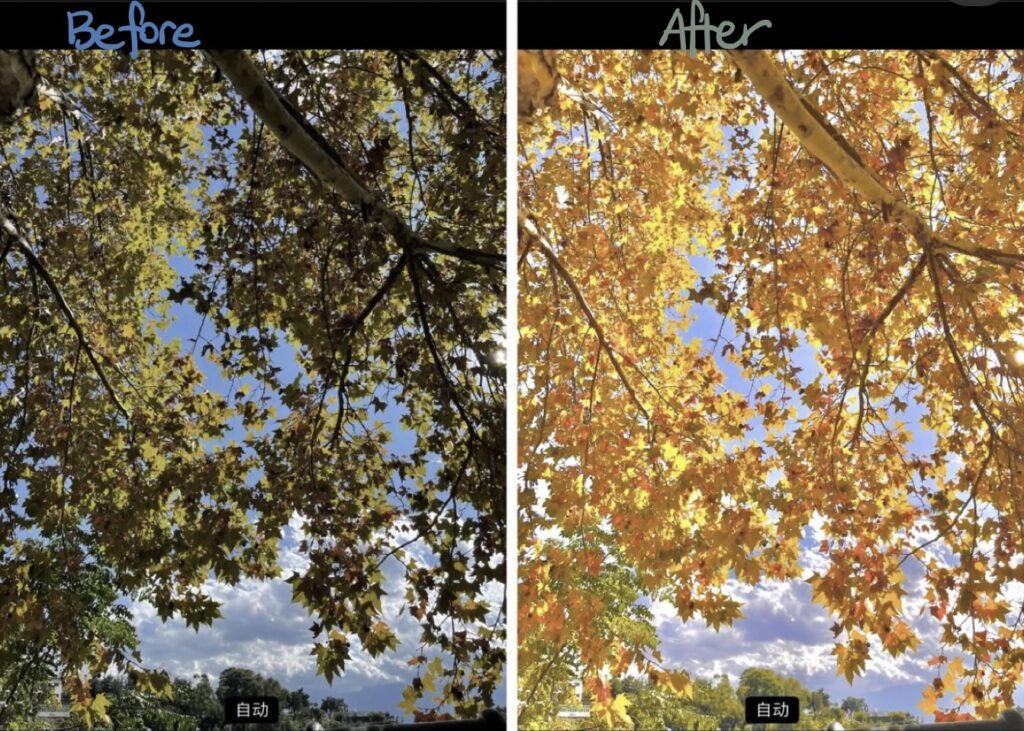
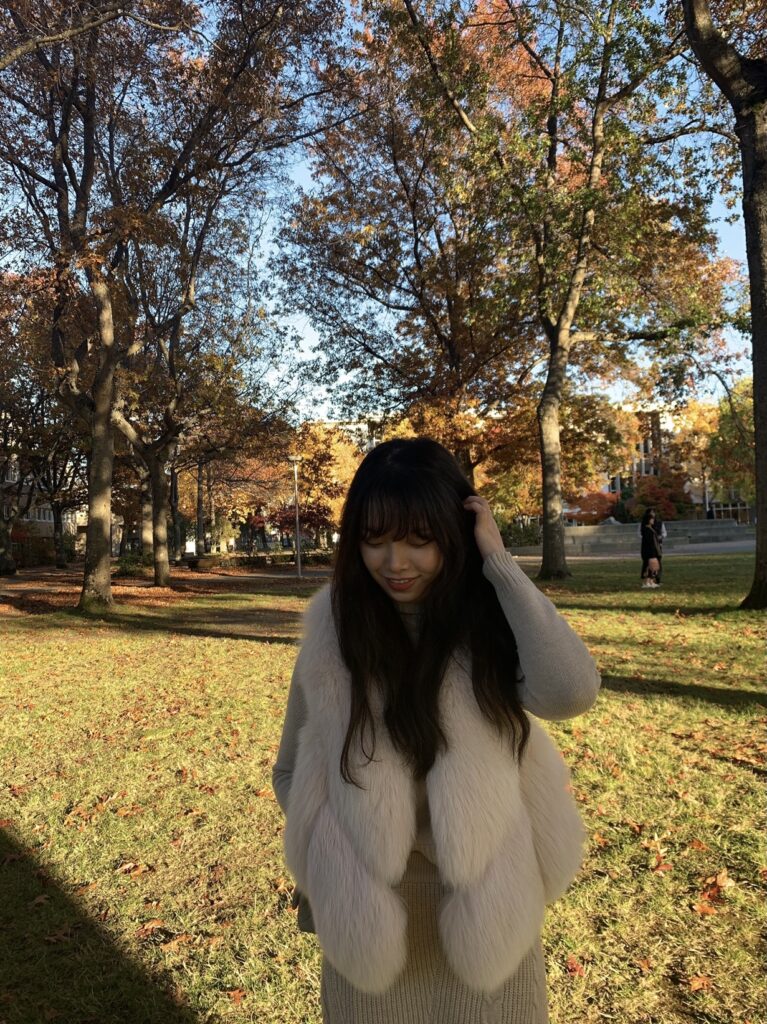
Type 2: suitable for the Victorian autumn filter
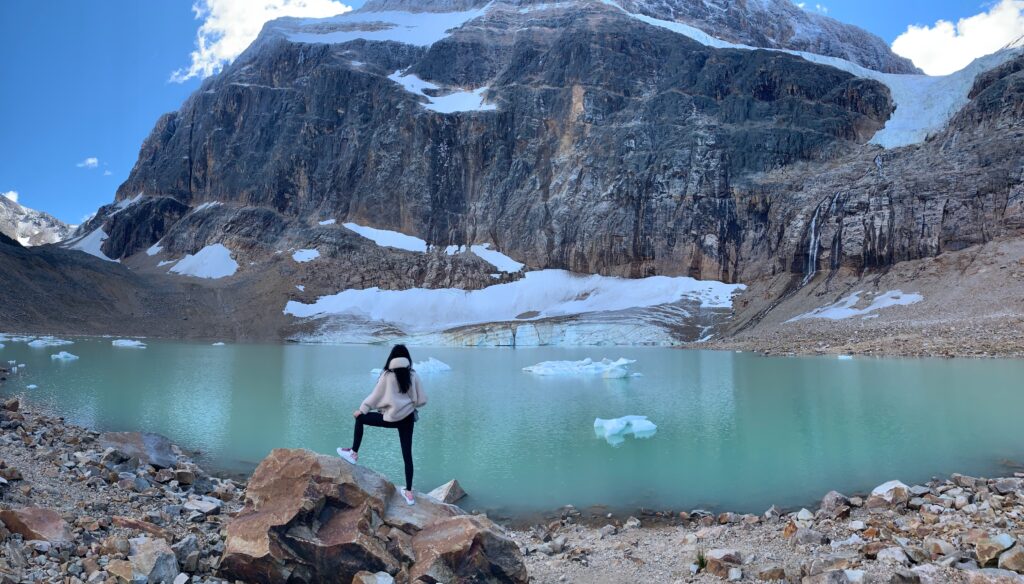
The disadvantage of the original: backlight shooting, the sky is too dark.
Retouching ideas: the photo needs to show the soft feeling of autumn sunlight through the leaves. Adjust the brightness of the overall picture to make the leaves transparent. Strengthen the colour saturation and warm tones.
Suitable for the scenes: autumn landscape, forest, outdoor.
Colour mixing parameters:
Exposure +20
Brilliance +80
Highlights -20
Shadows +20
Contrast -75
Brightness +20
Black Point -10
Saturation +65
Vibrance -35
Warmth +55
Tint +30
Sharpness +15
Definition +25
Noise reduction +11
Note: We can adjusted the picture specifically to your liking. The photo should not be too bright or too dark. We need to focus on the saturation of the colour grasp, not too strong. Try to keep the colours as close to nature as possible.
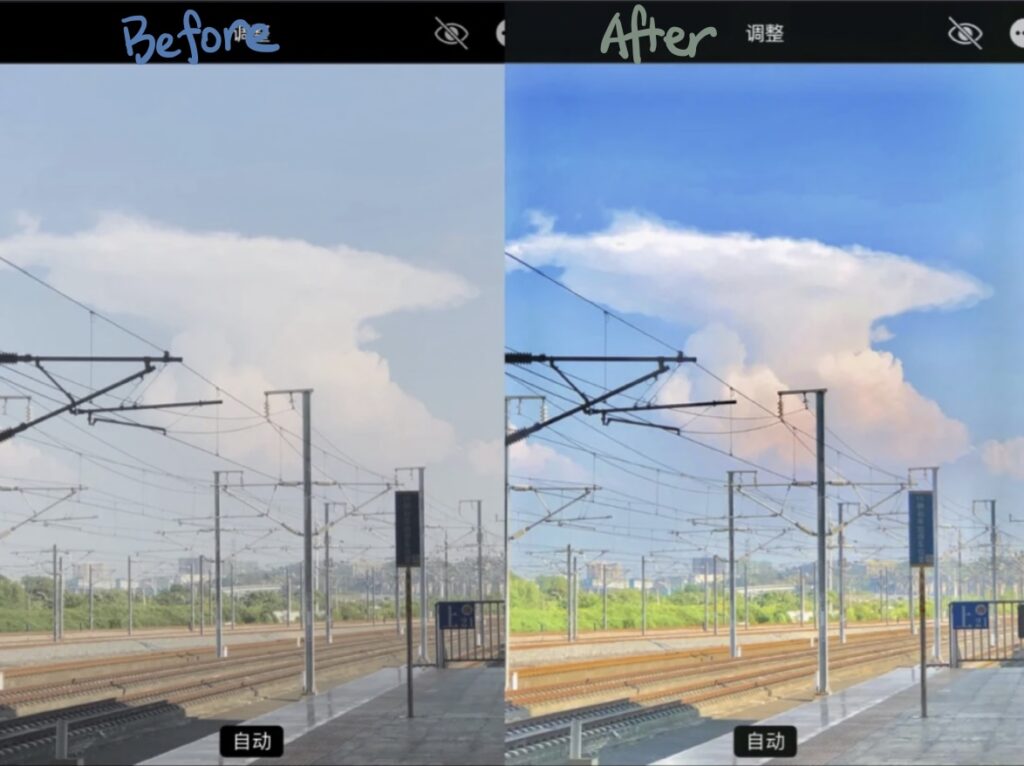
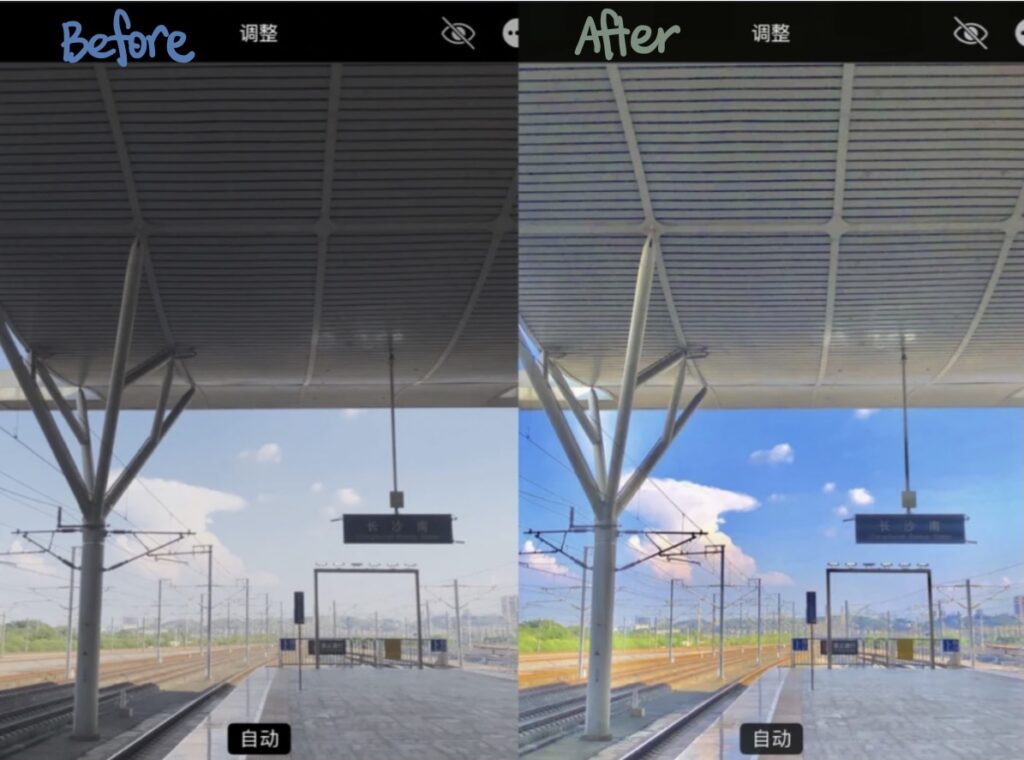
Type 3: Japanese style cartoon colour filter
The disadvantage of the original: the photo lacks a sense of colourful layers.
Retouching ideas: I believe that many people love to watch Japanese anime; this filter can turn the original photo into close to the feeling of anime. Make the photo look more colourful and contrasting. (This is what I took at a high-speed train station in China, it looks a lot like the Shinkansen of Japanese anime)
Suitable for the scenes: photos with proper sunlight. Simple picture.
Colour mixing parameters:
Brilliance +80
Highlights-70
Shadows +50
Contrast -10
Brightness +5
Vibrance +15
Sharpness +20
Note: High saturation and a pronounced bluish tint are very important. Do not make the photo too distorted while toning.
